Learn by Building and Discovering
K’NEX is not just about following instructions and building a model. It gives you a way to experiment, solve problems and discover how things work.
You can start with a simple flat shape and work your way up to bridges, towers, vehicles, moving machines or even a roller coaster.
Sometimes your construction will work immediately. Sometimes it won’t. That is part of building — and part of learning.
build → test → discover → change → try again
What will you build?
Start with the Basics
Before building complicated models, it helps to become familiar with the basic K’NEX parts.
You will often work with:
Rods — the straight parts that form much of the structure.
Connectors — used to connect rods in different directions.
Clips — small parts that can connect, lock or allow parts to move.
Spacers — placed on rods to keep parts in the right position or at the right distance.
Panels — flat parts that can fill areas of a construction.
Bricks — building blocks that can be combined with other compatible parts.
You don’t have to learn everything at once. Start by recognizing the parts and discovering how they fit together.
The K’NEX in the Classroom Instruction Cards can help you get started.
Classic, Micro and Kid K’NEX
Not all K’NEX parts are the same size.
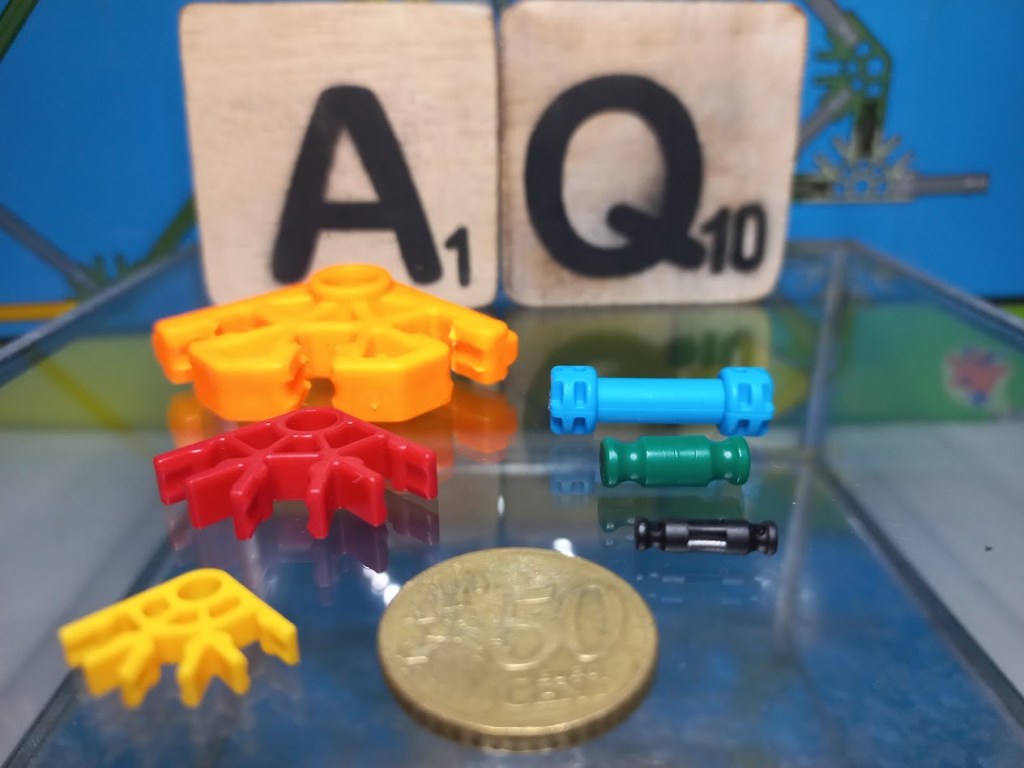
Classic K’NEX is the standard system and is used for many different types of models.
Micro K’NEX uses smaller parts, making it possible to build more compact constructions.
Kid K’NEX uses larger parts that are easier for younger builders to handle.
Some Classic and Micro K’NEX parts can be connected using special transition parts.
When you start a project, first look at the parts you have. Can you tell which K’NEX system they belong to?
Build on a Flat Surface
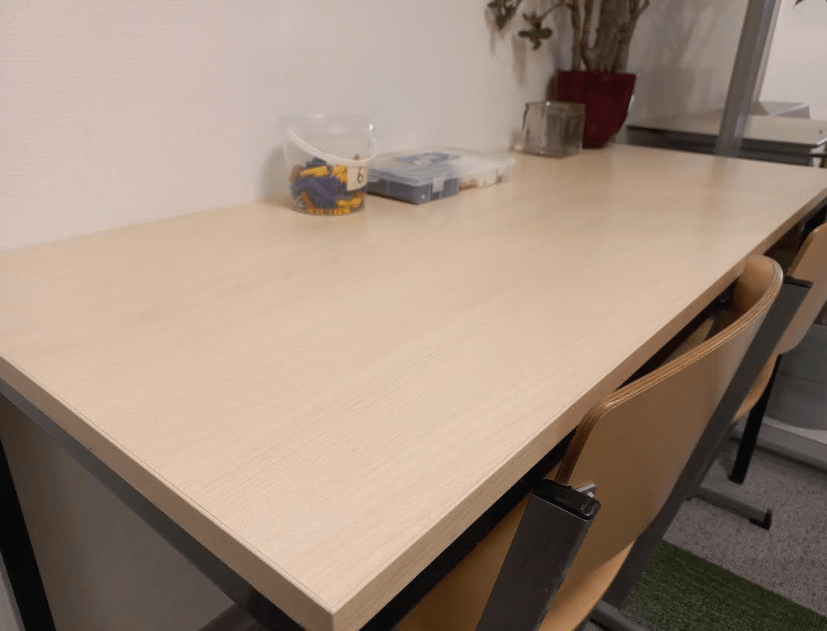
Use a flat surface, such as a table or the floor. This helps prevent small parts from rolling away and makes it easier to build and check your construction.
Give yourself enough room to lay out the parts and turn your model around while you are building.
Sort and Count Your Parts
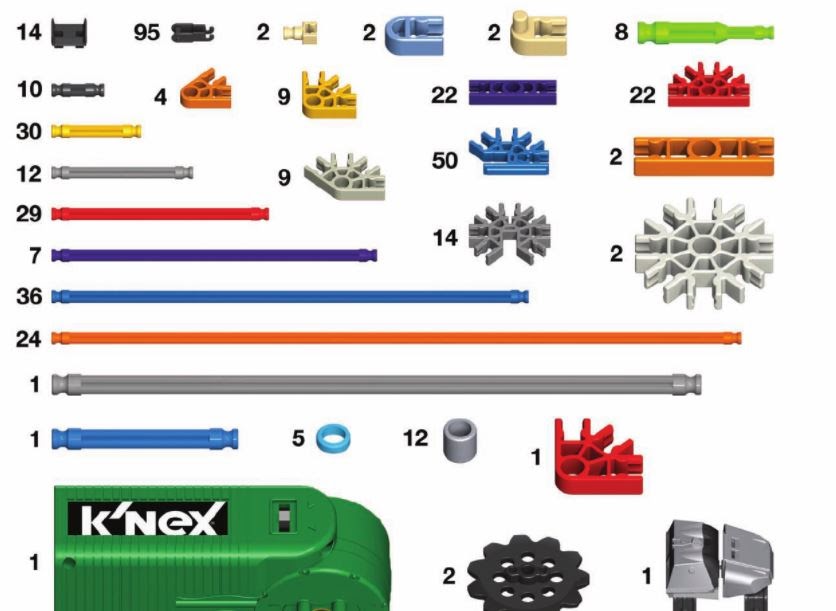
Building instructions often include a Part List showing the parts needed for a model.
Before you start:
- Find the parts you need.
- Sort similar parts together.
- Check the colors, shapes and sizes.
- Count how many you need.
- Keep the remaining parts nearby but separate.
This makes it much easier to find the right part while building.
Learn How Parts Connect
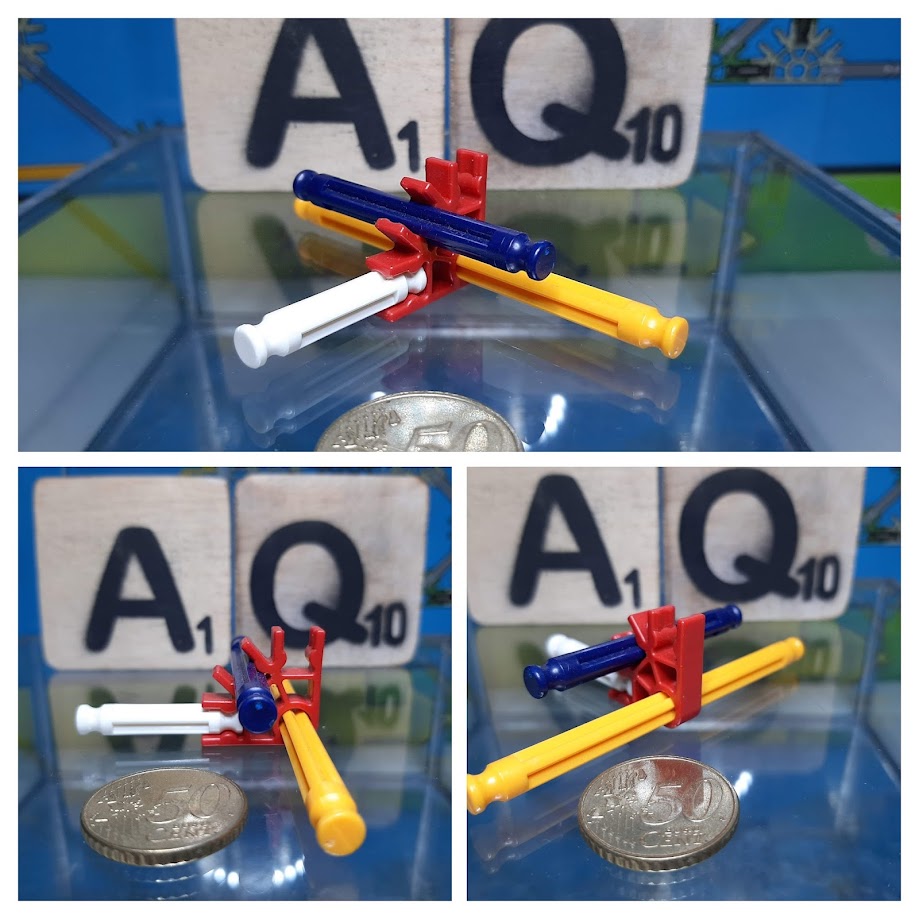
K’NEX parts can be connected in different ways.
A rod can click into a connector, but rods and connectors can also be combined with clips and other special parts. Some connections are fixed, while others allow movement.
Try different connections and look closely at what happens.
Does it click into place?
Can it still rotate?
Can the rod slide through the opening?
Does the connection make your construction stronger or allow it to move?
Learning how the parts connect gives you many more possibilities when you start designing your own models.
From 2D to 3D
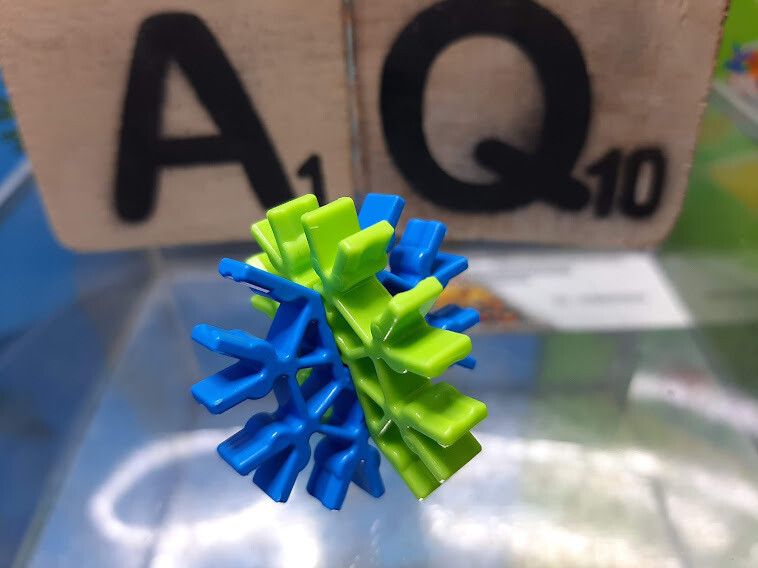
A good way to begin is with a 2D construction: a flat shape built on the table.
Try making a square or triangle. Then investigate what happens when you lift parts of the construction and connect them in another direction.
Now you are building in 3D.
You can use the same idea to create cubes, towers, bridges and much larger structures.
Look carefully at the shapes in your construction.
Which shape stays rigid? Which one changes shape?
Don’t just guess — build it and test it.
Make It Move
Wheels can turn a construction into a vehicle. Gears can transfer movement. Chains can connect moving parts. Hinges can allow sections of a model to move. More advanced projects can also use motors.
When something moves, investigate it:
What makes it move?
Which parts rotate?
What happens when you change the size of a wheel or gear?
Can you make it move faster, slower or in another direction?
Build, Test and Improve
Your first idea does not have to be your final idea.
If a bridge bends, a tower falls over or a mechanism gets stuck, ask yourself why.
Then change something and test it again.
1. Think — What do you want to make?
2. Build — Turn your idea into a construction.
3. Test — Does it do what you expected?
4. Investigate — What works and what doesn’t?
5. Improve — Change your design.
6. Try again — Did your solution work?
Sometimes an idea that does not work teaches you more than one that works immediately.
Build Together
You don’t always have to build alone.
Working with someone else means you can combine ideas and compare different solutions.
Ask each other:
What are we trying to build?
Which parts should we use?
How can we make it stronger?
Who has another solution?
How can we find out which idea works best?
You don’t have to agree immediately. Build different solutions and compare them.
Try a Building Challenge
Once you know the basic parts and connections, try building without step-by-step instructions.
For example:
Build the tallest free-standing tower you can with 25 parts.
Build a bridge that spans a fixed distance without touching the surface in the middle.
Build a vehicle that can roll as far as possible after one push.
Or choose a small collection of parts and invent something yourself.
Set yourself a goal, build a solution and then see whether you can improve it.
When You’re Finished
Take a good look at what you have built before taking it apart.
What worked well? What was difficult? What would you change next time?
If you created something interesting, you can photograph it before dismantling it.
Then sort and put away the parts so they are ready for the next builder — or your next idea.
Keep Exploring
Start with the K’NEX in the Classroom Instruction Cards to learn about the basic parts and connections.
From there, explore K’NEXCHANGE to identify parts, learn about the different K’NEX systems and discover more about how K’NEX constructions work.
You can follow instructions. You can change an existing model. Or you can start with nothing more than a pile of parts and an idea.
With K’NEX, you don’t just build something — you discover what makes it work.
 K'NEXCHANGE